Wednesday, June 19, 2024

Flower Power!

Welcome class!

I've been having a lot of fun using the Flower Power suite of products I picked up at Create last month...be warned this blog is going to have a lot of fun florals in the next few weeks!  

So here's the lesson plan:

1.  Pick your colors.  I wanted to go with a rainbow theme, so I used a whole assortment of Simon's Pawsitively Saturated Inks.  I am a cube girl because (1) it allows me to have all the colors from a budget perspective, and (2) I can store them in Tim Holtz tins on a shelf easily.  
2.  This suite of products has a coordinating stencil to color in those big flowers, which is one of the things that drew me to it in the first place.  Stamp the things!  Stencil the things!  Die cut the things!  Do in this order as if you die cut the flowers and then try to stencil them you won't have a good time....
3.  Scatter the leaves on the base layer of the card.  I stamped them with Versafine ink and embossed with Simon's detail embossing powder. Repeat the embossing with the sentiment. 
4.  Pop up the flowers with foam tape.
5.  Liberally use the Starshine Embellishments amongst the flowers.  I am addicted to this embellishment and it's at a super price point. 
6.  Finish card assembly.

EXTRA CREDIT!
I went back with a black detail Copic pen and added some doodles to the flower centers and it just made them pop.  Highly recommend doodling on sold images such as these. 

Product Line Up:
The above links are affiliate links, which just helps me fund this hobby at no additional cost to you and create more lesson plans and creativity for all of you--I appreciate your support!

Class dismissed!

Monday, June 17, 2024

Oh Hey—You Graduated!

Welcome class!

I needed to whip up a quick graduation card, and was inspired by betsy3spoke on Instagram to use the Oh Hey suite of products from Concord and 9th.  I had snagged the stencils and dies on a resale board a while back, and was happy to see they released the coordinating stamp set recently so I can take advantage of that versatility too!  

So here's the lesson plan:

1.  Pick your colors.  Graduation colors are super easy--use their school colors!  Here I chose to use Simon Says Stamp Marine, Cadette and Royal, along with Catherine Pooler's Rockin' Red.

2.  Stencil all the things!  Die cut all the things!  I also used the Concord and 9th Stitched Dots cover plate in addition to the Simon Says Stamp Stars dies that I cut out of a Simon assorted glitter paper pack. The sentiment and banner are from the Concord and 9th Flower Shaker Shapes suite of products.

3.  I had a lot of extra stars and chose to glue them inside the card, as you can see from this "drone" footage--LOL!  

Looking for some of these amazing products?  Visit the Simon Says Stamp link on the right.  It is an affiliate link, which just helps me fund this hobby and create more lesson plans for creativity for all of you--I appreciate your support!

Class dismissed!

Saturday, June 15, 2024

Create It Three Ways Summer-Style!

 Welcome class!

Two blog posts in one day!  Today is the 3rd Saturday of the month, so it's time for the Create It Three Ways IG Hop (stop by my IG linked on the right to see the whole line up of inspiration!).  Each month has a theme, and this month is summer.  I interpreted it to mean blooming flowers because summer does bring flowers, and it also gave me a huge excuse to use the Spellbinders Fresh Picked suite of dies that have been staring at me on my desk for weeks.  

So here's the general lesson plan:
1.  Pick your colors. Card 1:  TE Jalapeno and Cinnamon, C9 Parsley and Buttercup, Neenah Solar White.  Card 2:  Stamp market Party Pink, Orchid, Sunshine, Aspen, TE Huckleberry.  Card 3:  TE Bleu Cheese and Sour Gummy, C9 Spiced Cider, Cayenne, Grapefruit.
2.  Select the background.  Card 1: Stitched border using Waffle Flower Lacy Layers.  Card 2: Honey Bee Barnwood Planks dies. Card 3:  Successful foiling with the Sentimental Mosaic Betterpress plate!  Side note:  I've always struggled with foiling and I find that I can get a much better foiled result using Betterpress plates than hot foil plates.....and you can use Betterpress plates on both platforms.  From here on out, I'm purchasing Betterpress plates only for their versatility. 
3.  Die cut all the things!  Ink blend all the things for dimension!
4.  Assemble, which is my favorite part with these dies as it's like a big puzzle.  
5.  Add in sentiments.  Card 1:  Thank You die from Ellen Hudson.  Card 2:  A random thanks that was on my desk from another project I didn't use it on...maybe from WPlus9?  Card 3:  Fresh Picked Sentiments from Spellbinders.  Remember to stack the sentiments for dimension!
6.  Accent two of the three with Starshine Embellishment mix from Simon Says Stamp (told you I had a mild obsession with those....).
Looking for some of these amazing products?  Visit the Simon Says Stamp link on the right.  It is an affiliate link, which just helps me fund this hobby and create more lesson plans for creativity for all of you--I appreciate your support!

Class dismissed!

AAA Colourful Challenge #5

Welcome class!

It’s time for another AAA Colourful challenge!  This month brings you a delightful inspiration picture that I took quite literally when creating my card. 


So here's the lesson plan:
1.  Pick your colors.  Since it's a color challenge, that was the easy part.  I went with Marine, Cadette and Royal Pawsitively Saturated Inks from Simon Says Stamp, with a little Cherry Pop from Taylored Expressions tossed in for good measure.


2.  Since I went super literal with the inspo pic, it was easy to get the layout figured out.  I used a rectangle masking stencil from Taylored Expressions and got to work blending with the inks.  I went hard with the Marine ink and then blended the others from the edges in to get that ombre look.
3.  For interest (and because it just showed up in my envelope restock order!) I used the June 2024 GWP cover plate die from Taylored Expressions as the rainbow arcs fit with the sky vibe of the card. 
4.  Speaking of sky, we need the balloon, which was another GWP, this time from scrapbook.com.  Smiley face is from the Here Comes the Sun set from Taylored Expressions.....the clouds are TE too!
5.  I'm sending this to my niece for her birthday, so I went with a Greetery All Kinds of Happy sentiment, accented with a birthday sentiment strip from Taylored Expressions. 

Looking for some of these amazing products?  Visit the Simon Says Stamp link on the right.  It is an affiliate link, which just helps me fund this hobby and create more lesson plans for creativity for all of you--I appreciate your support!

Class dismissed!


Thursday, June 13, 2024

Dearest Gentle Reader…

Welcome class!

This card was created for the Bee Inspired by Bridgerton IG Card Hop hosted by Amrita Pettus (@amritapettus on IG). We are celebrating our excitement for the season 3 part 2 release with all things inspired by the hit series Bridgerton!

I was inspired to use the Fresh Picked Vase Bouquet die set from Spellbinders because that vase just screams English estate to me, and I also used the Hero Arts Novel Prose Bold Prints background because...well, Bridgerton was originally a series of novels.

 
So here's the lesson plan:
1.  Pick your colors.  I used a palette I found using The Stamp Market's website.  If you click on any color, it gives you coordinating choices.  So I went with a Stamp Market Sunshine, Begonia, Cheeky, Cranberry, Julep and Emerald slate, supplemented with some Papertrey Lemon Tart for the background and Taylored Expressions Cinnamon for the vase.

2.  Die cut all the things!  Stamp all the things!

3.  Once everything is cut and stamped, get those blending brushes out and distress the edges, and blend on the die cuts to give them dimension, especially that sentiment (Fresh Picked Sentiments from Spellbinders)...the ombre look is solid. 

4.  Glue and pop up your elements on the card, and trick out with embellishments.  I used the Starshine Embellishment Mix from Simon Says Stamp, which I purchased on accident thinking it was something else, and now that I started using them, I'm not stopping. 

If you'd like to see more Bridgerton-inspired card, visit my Instagram page (@teacher11494) which is linked on the right for the full line up of projects. 

Looking for some of these amazing products?  Visit the Simon Says Stamp link on the right.  It is an affiliate link, which just helps me fund this hobby of mine and create more lesson plans for creativity for all of you--I appreciate your support!

Class dismissed!

Saturday, June 8, 2024

(Citrus) Crushing it with Color Throwdown

Welcome class!

I had a lot of fun playing along with this week’s challenge at Color Throwdown! 

I took this very literally and used the Concord and 9th Citrus Crush products with C9 colors of Buttercup, Clementine, and Dragonfruit.


So here’s the lesson plan:
1.  Use a Concord and 9th Stitched Dots coverplate and make the base.
2. Die cut all your fun fruits and do the OPPOSITE of what I did and have the dark layer as the base. Ink blend for dimension. 
3.  Add in some Diagonal Shortcuts dies from C9 for fun.
4.  Because I can’t help myself, add some vellum leaves.
5.  Emboss that sentiment using clear embossing powder and Versafine black ink and pop it up….and you’re done!  


EXTRA CREDIT!
I had some extra die cuts on the table so I made a second card but flipped to horizontal and added flowers with yellow enamel dots from Taylored Expressions. 

Looking for some of these amazing products?  Visit the Simon Says Stamp link on the right.  It is an affiliate link, which just helps me fund this hobby and create more lesson plans for creativity for all of you---I appreciate your support!

Class dismissed!


Friday, June 7, 2024

Making Cards in Batches: Create in Quads

Welcome class!

For my first real post, I’m showcasing a batch of four cards I made using the Taylored Expressions Garden Party Create in Quads stencil set.  Now, I was not a part of the monthly club this was included in, but I’m pretty good at finding things used on resale pages.  I’m a fan of this line of products because they are great for times when you need a batch of cards QUICK (and you’re also feeling mildly lazy and don’t want to drag out a ton of product).

So here’s the lesson plan:

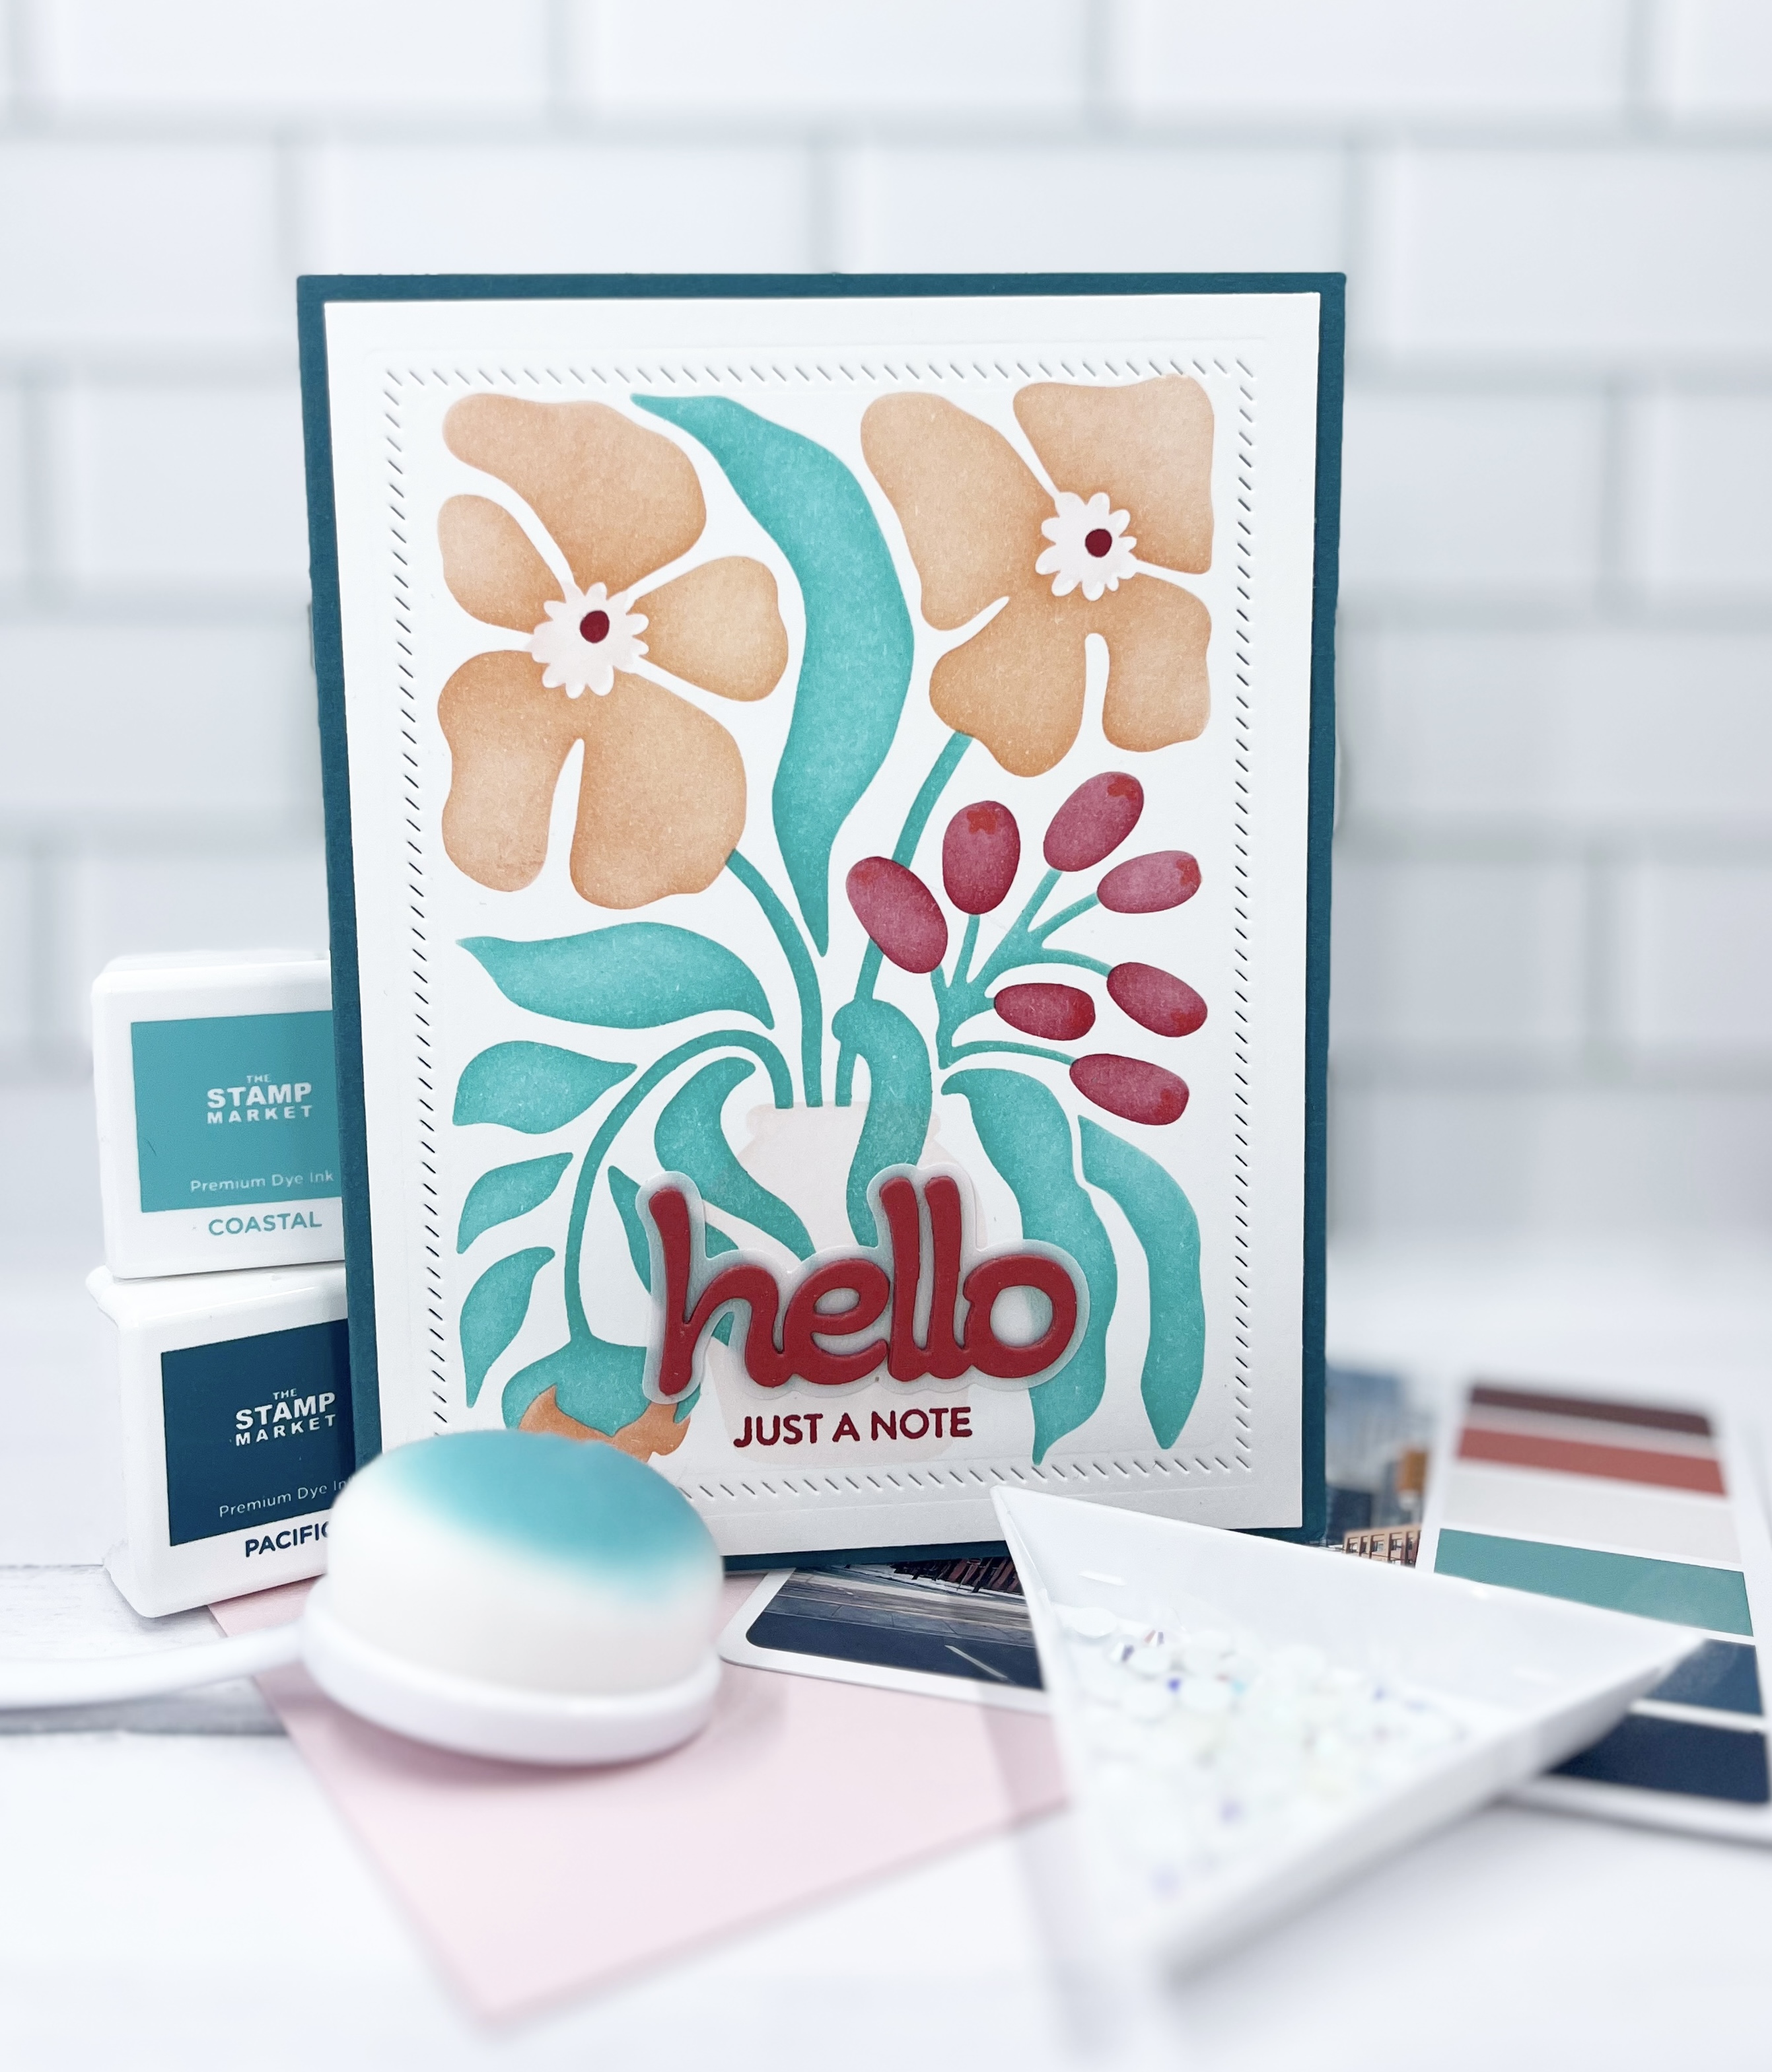
1.  Pick your colors.  I used a Color Cube for inspiration and settled on Concord and 9th Sorbet and Ballet Slipper, and The Stamp Market’s Cranberry, Coastal and Pacific.

2. Dig out the sentiments you’d like to use.  I went for Altenew’s Versatile Greetings and Sweet Expressions die sets, with a sprinkle of Honey Bee Stamps Mini Messages.

3. Select your accents.  I went for an assortment of frame dies from Taylored Expressions from my die cut basket.  At some point I'll make a post on how I organize my craft room, but using Avery Elle pockets to organize my dies has been a game changer.

4. Get to work!  I used my tried and true Taylored Expressions blending brushes and went for the lighter color as the base so that I could blend over it more easily.  

5.  Play around with your sentiments.  I used pearlescent Lawn Fawn vellum underneath each sentiment, and stacked them for dimension.  Placing a bonus die cut UNDERNEATH the vellum gives a smidge more dimension and lets that pearly vellum stand out.  I needed a few thank you cards in addition to some "hey there!" cards, so I did a combination of both. 

In the end, actually FIVE cards from these quads because I cut the full panel on a diagonal so that I could squeeze extra out of the effort.  

Looking for some of these amazing products?  Visit the Simon Says Stamp link on the right.  It is an affiliate link, which just helps me fund this hobby and create more lesson plans for creativity for all of you---I appreciate your support!

Class dismissed!