Welcome class!
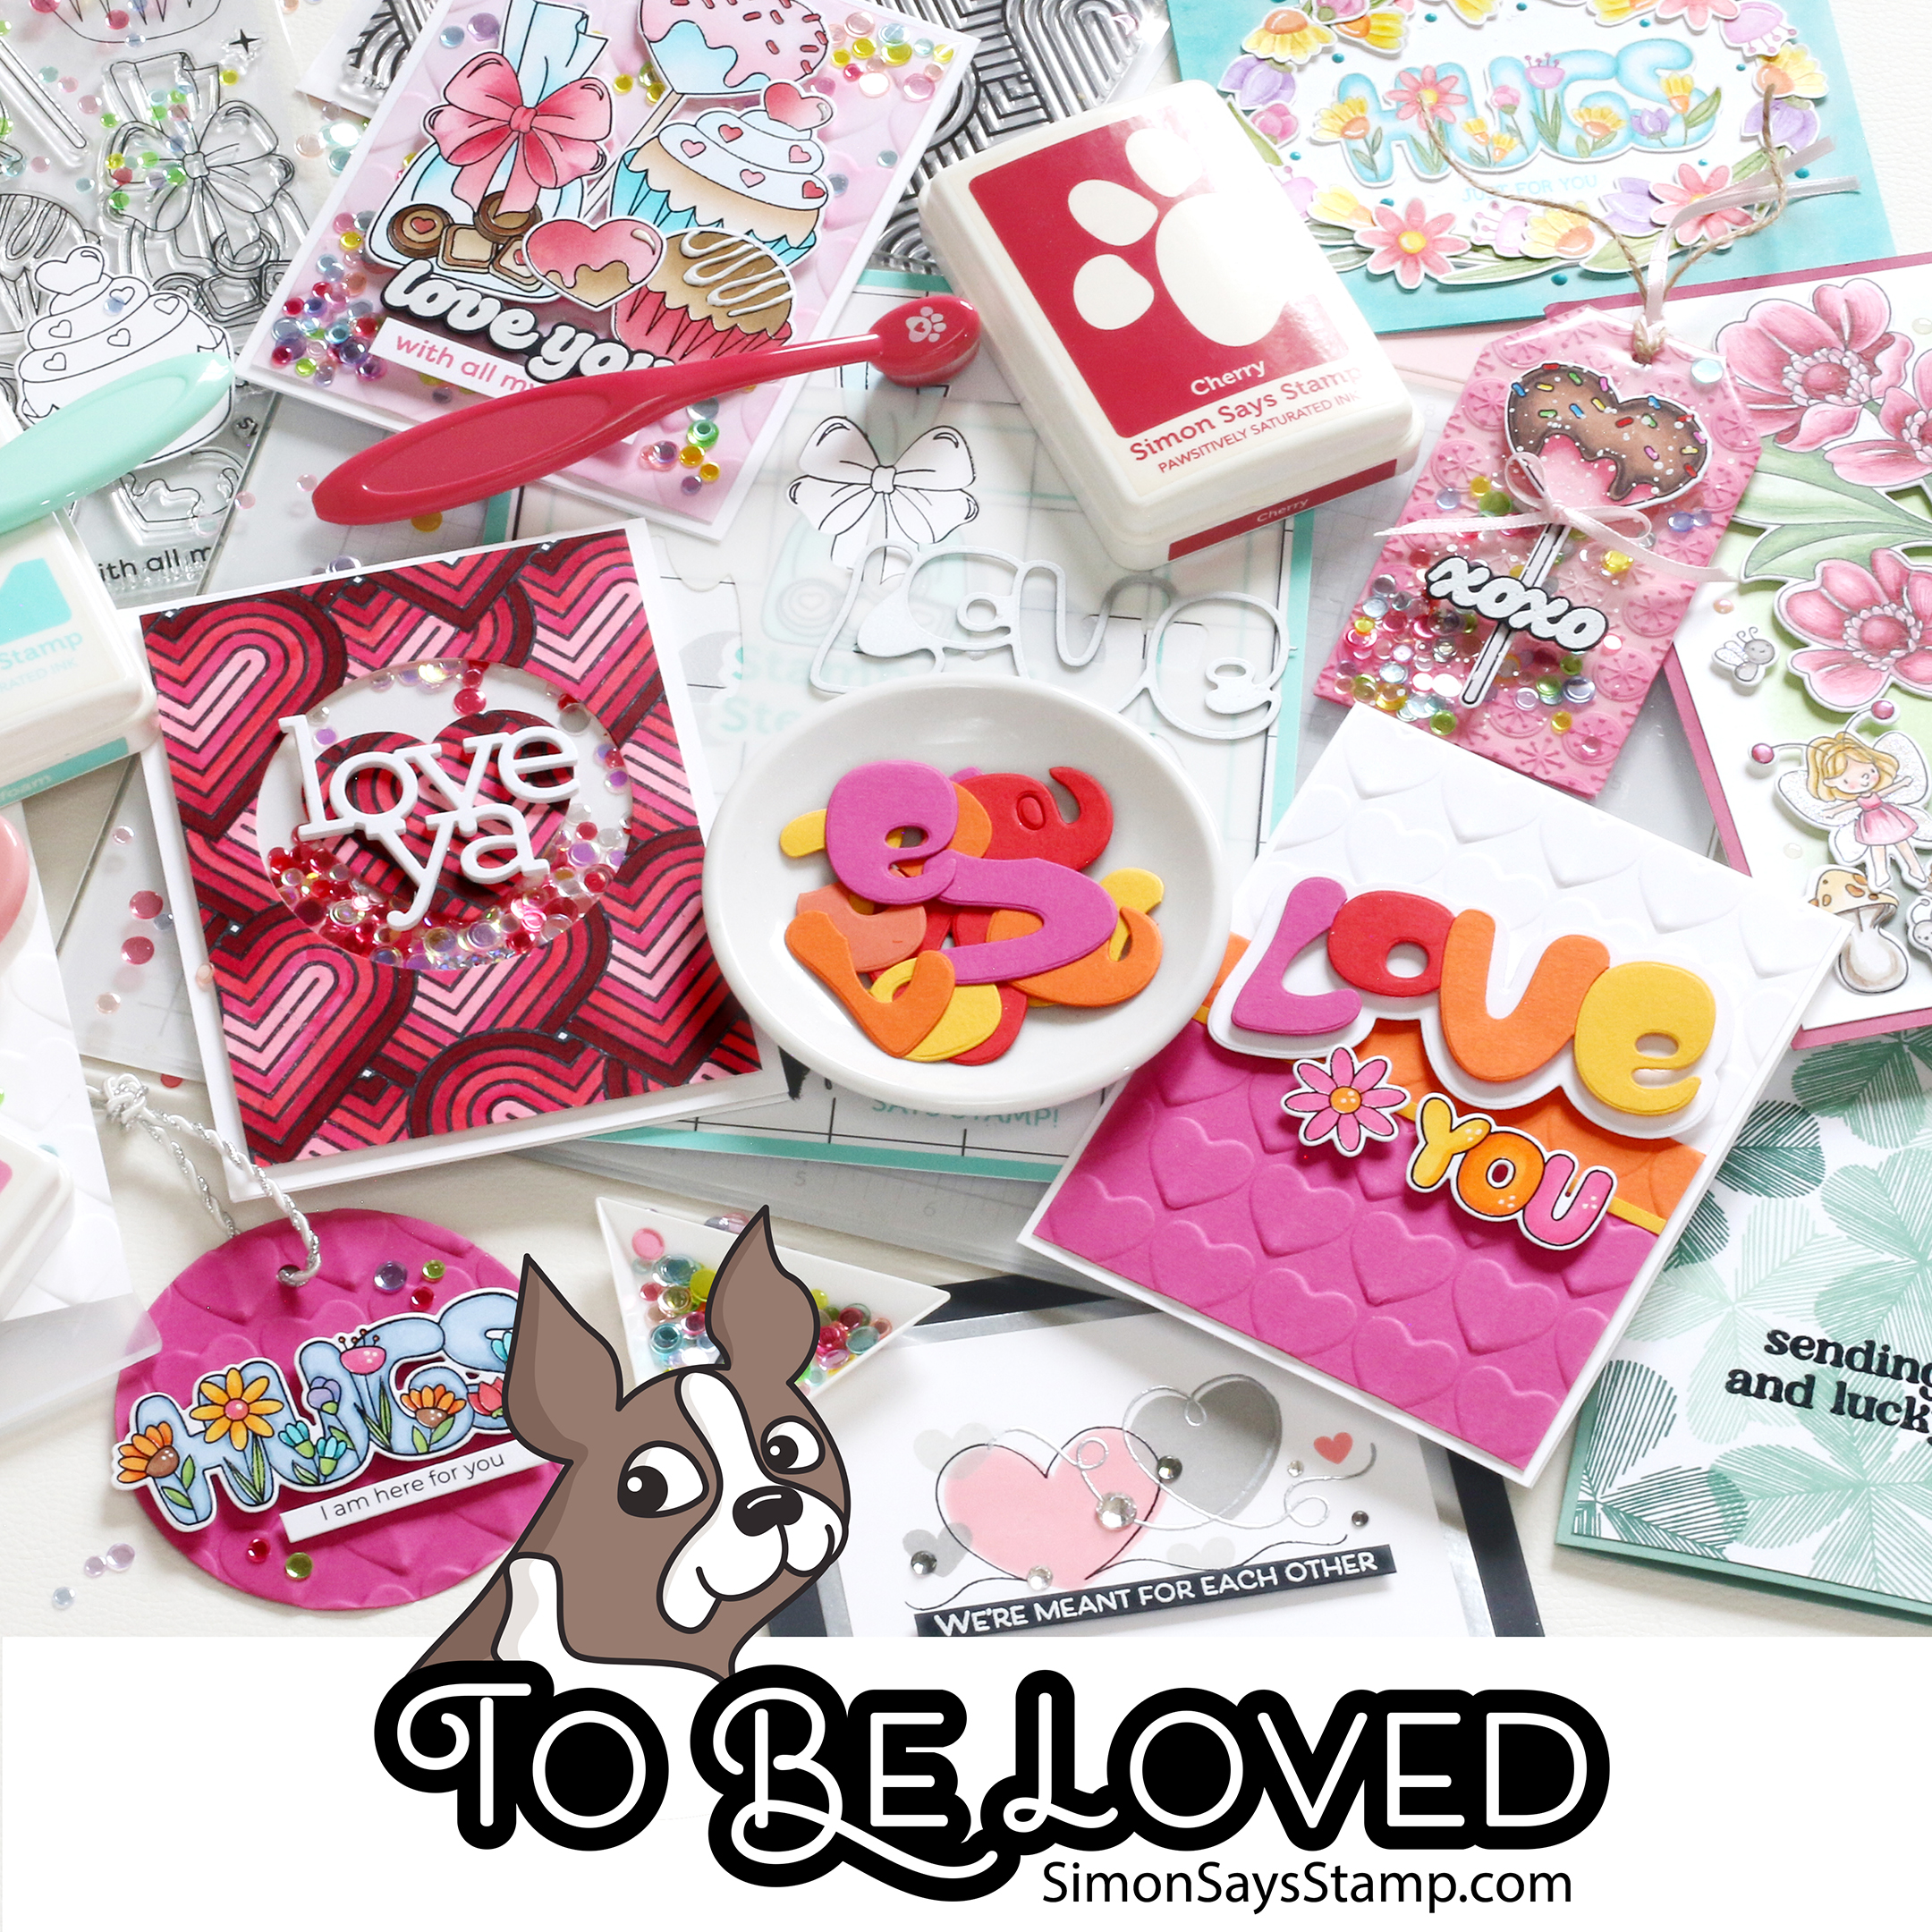
I'm super excited to be able to participate in the second day of the Simon Says Stamp To Be Loved blog hop--thanks for coming to my "classroom!" You're at the LAST stop here...hopefully you think they saved the best for last--LOL! If you missed the first day's inspiration, or want to start today's stop at the beginning make sure to head to the Simon Says Stamp blog HERE and get caught up! We're giving away a $25 coupon to the Simon shop from EVERY stop on the hop from the comment section...leave a comment and the winners will be be posted on the Simon Says Stamp blog on Wednesday January 15th! And even more fun--with any $50 purchase from the To Love OR To Be Loved collections, you'll have the Circle Hoops embossing folder automatically added to your cart as a FREE thank you for your purchase! This free gift with purchase will expire on January 12th at 11:59 EST or while supplies last, so get your orders in quickly!


So here's the lesson plan:
1. Pick your colors. I went with a rainbow assortment of colors using Simon's Pawsitively Saturated Ink line. I use only ink cubes in my craft room, and the cubes came in so handy for this technique to create the rainbow background!
2. Ink the things! I lined up the solid heart stamps across the top third of the card and inked up the top of the row in Guava and the bottom of the row in Cherry. Blend the things! BEFORE you stamp, take an ink blending tool and tap it across the area where the two ink colors come together so that they make a more harmonious blend. Stamp the things and admire that beautiful blend!
3. Move the stamps around for a second row of hearts and repeat this process with the rest of your rainbow--I completed the rainbow using the following Pawsitively Saturated Inks: Mandarin, Sunbeam, Limelicious, Surf, Cadette and a smidge of Iris.
4. Emboss the things! I selected a few of the hearts to have the outline image surrounding them. I used the Simon Says Stamp Nocturne Versafine ink and used clear embossing powder on top to bring out the shine.
5. Splatter the things! I used black watercolor ink and did some splatter over the top of the heart panel and set it aside to dry while I....
6. Die cut the things! I used the previously released Love You Very Much die and cut it out of Simon's Glossy Black cardstock.
7. Assemble! I popped up the heart panel on top of a white cardbase, and finished the sentiment off with a reverse sentiment strip from the All the Love collection. Some Starshine sequins and we have a colorful valentine!
Feel free to check out the entire To Be Loved release HERE, and below you can find the links to the products that I've used on this card. The links above and below are affiliate links, which just helps me fund this hobby at no additional cost to you, making it easier to create more lesson plans and creativity for all of you--I appreciate your support!
Products used:
- Simon Says Stamp Swirly Hearts Stamps
- Simon Says Stamp Pawsitively Saturated Ink Cubes: Red Berries
- Simon Says Stamp Pawsitively Saturated Ink Cubes: Orange Leaves
- Simon Says Stamp Pawsitively Saturated Ink Cubes: Yellow Sunsets
- Simon Says Stamp Pawsitively Saturated Ink Cubes: Green Meadows
- Simon Says Stamp Pawsitively Saturated Ink Cubes: Blue Seas
- Simon Says Stamp Pawsitively Saturated Ink Cubes: Blue Skies
- Simon Says Stamp Pawsitively Saturated Ink Cubes: Purple Fields
- Simon Says Stamp Love You Very Much Wafer Die
- Simon Says Stamp Clear Detail Embossing Powder
- Simon Says Stamp Nocturne Versafine Clair Ink Pad
- Simon Says Stamp All the Love Reverse Sentiment Strips
- Simon Says Stamp Starshine Embellishment Mix
Class dismissed!
Love the use of solid stamps, mixed with the line images!!!
ReplyDeleteCool use of the hearts. Really cheery and bright.
ReplyDeleteLove the hearts, so pretty.
ReplyDeleteSwirly Hearts is so great! I love how you used it.
ReplyDeleteCute, playful card!
ReplyDeleteWonderful uniqueness to your creation.
ReplyDeleteI love the color blend on your card! What fun!!
ReplyDeleteGreat colors! Lots of fun!
ReplyDeleteLove the alternative color use! So happy to discover another artist to follow! Thanks for the inspiration!
ReplyDeleteLove all the inspiration. Looking for to getting my order
ReplyDeleteI LOVE your hearts and rainbow colors
ReplyDeleteLove the background hearts! Stunning
ReplyDeleteBeautiful card. Thank you for sharing the techniques you used.
ReplyDeleteAwesome Valentine card. I love the black outline on some of the hearts.
ReplyDeleteGreat cards!
ReplyDeleteI like the black with colors.
ReplyDeleteGreat card!
ReplyDeleteThanks for sharing.
Very colorful and creative.
ReplyDeleteThanks for the inspiration
ReplyDeleteFun technique---thanks for sharing! Love the colors and style of your card
ReplyDeleteMaggie, I absolutely love the mixed media feel of your cards. And love the your color selection. Such a wonderfully, cheery card.
ReplyDeleteWhat a cute card!
ReplyDeleteSo light hearted, Love this card (no pun intended)
ReplyDeleteGorgeous rainbow hearts!
ReplyDeleteSuper fun card!
ReplyDeleteBeautiful card!!! Your rainbow hearts are Fantastic!!!
ReplyDeleteLove this fun whimsical card!
ReplyDeleteSuch a fun and sweet card! I love how colourful the hearts are!
ReplyDeleteLovely card--the colors are so pretty and I love the little twirly elements.
ReplyDeleteWow! I love this rainbow colored heart card! You took that Swirly Hearts stamp and brought it to life!
ReplyDeleteThis is so pretty! I love the colour!
ReplyDeleteWhat a fun design! I love the rainbow colors- so pretty!
ReplyDeleteFabulous! I love that swoopy outline!
ReplyDeleteBeautiful rainbow colors in your card design.
ReplyDeleteWhat a bright, fun card!
ReplyDeleteGreat card.
ReplyDeleteGorgeous card.
ReplyDeleteLovely cards!
ReplyDelete