Tuesday, March 18, 2025

Happy Birthday to You!

Welcome class!

If you're looking to make a vibrant, eye-catching birthday card, this project featuring Simon Says Stamp's Pretty Bows dies is the perfect choice! With bright colors, embossed details, and metallic die-cut bows, this card is sure to impress.


 So here's the lesson plan:

Step 1: Prepare the Card Base

  1. Cut a piece of white cardstock to create an A2-sized card base (4.25" x 5.5").

  2. Set aside while working on the decorative elements.

Step 2: Create the Colorful Background

  1. Choose seven bright colors of cardstock and cut them into equal-sized rectangles.

  2. Use an embossing folder or background stamp (I used Simon Says Stamp's Flower Burst stamp) to add texture to each colored piece.

  3. Arrange the rectangles in a grid-like pattern on the front of the card base and adhere them with glue or adhesive tape.

Step 3: Die Cut the Pretty Bows

  1. Using the Simon Says Stamp Pretty Bows dies, cut multiple bow shapes from matte silver cardstock.

Step 4: Assemble the Card

  1. Adhere the silver bows over the embossed colored background, ensuring they are spaced evenly.

  2. Die-cut or stamp "Happy Birthday" onto black cardstock and layer it onto a white cardstock backing.

  3. Attach the sentiment towards the bottom center of the card using foam tape for added dimension.

This colorful and sophisticated birthday card is a great way to showcase the Pretty Bows dies while incorporating embossed details and bold colors. Whether you’re crafting for a loved one or building your handmade card collection, this design is a must-try. Happy crafting!

Products Used:
Class dismissed!

Monday, March 17, 2025

A Citrus-y Hello!

Welcome class!
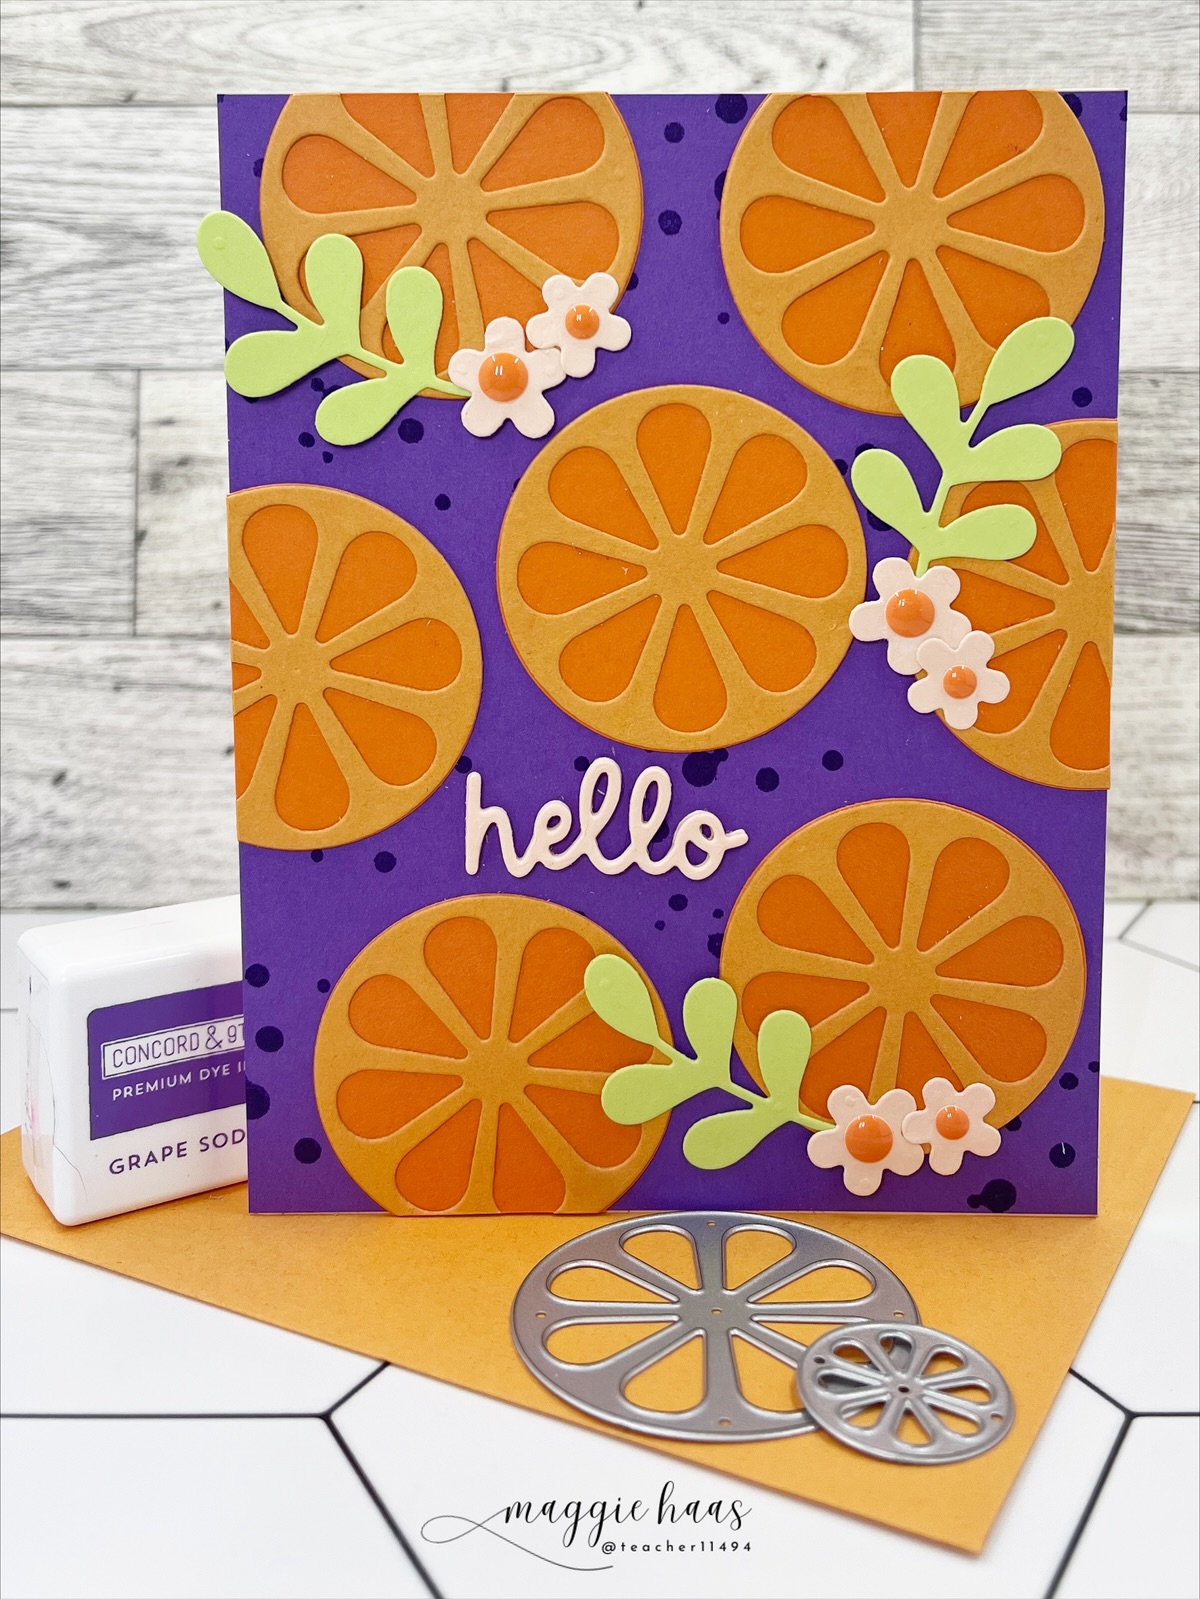
Looking for a fun and bright handmade card design? This citrus-inspired card is perfect for sending a cheerful hello to a friend or loved one. The design is inspired by artist Annie Riker’s beautiful illustration of orange slices on a bold purple background. I loved the fresh, graphic feel of her artwork and wanted to translate that into a handmade card using Concord & 9th’s Citrus Crush dies and vibrant cardstock. Let’s dive into the steps to recreate this juicy design!


 So here's the lesson plan:

Step 1: Create the Background

  1. Cut a purple cardstock panel to fit an A2-sized card base (4.25" x 5.5").
  2. Using the Grape Soda ink, lightly stamp some small dots or splatter-like designs onto the background to add texture. 

Step 2: Die-Cut the Citrus Slices

  1. Use the Citrus Crush dies to cut out the orange slices from The Stamp Market Mango cardstock.
  2. Layer the detailed Concord and 9th Clementine colored die-cut over the Mango base and adhere them together using liquid glue.
  3. Cut out several slices to arrange them randomly on the card.

Step 3: Assemble the Citrus Design

  1. Arrange the citrus slices on the background panel, ensuring they are slightly overlapping for a dynamic look.
  2. Add small Concord and 9th Sprout die-cut leaves between the citrus slices for a fresh, organic touch.

Step 4: Add Floral Accents

  1. Die-cut small flowers from Concord and 9th Nectar cardstock and adhere them around the citrus slices.
  2. Use enamel dots or small adhesive pearls as flower centers to add dimension.

Step 5: Add the Sentiment

  1. Die-cut the word "hello" from Nectar cardstock several times and stack together for dimension.  

Step 6: Final Touches

  1. Adhere the finished panel onto an A2-sized orange card base.
  2. Pair it with an orange envelope to match!

This fun and fruity card is sure to bring a smile to anyone’s face. The mix of bright colors, layered die-cuts, and floral embellishments creates a fresh and playful design. Try experimenting with different color combinations for a lemon or lime version!

Would you recreate this card? Let me know in the comments!


Class dismissed!


Sunday, March 16, 2025

Pocket Full of Hellos!

Welcome class!

Today, I’m sharing a charming handmade card featuring the Pocketful of Mushrooms die set from Simon Says Stamp. These adorable mushrooms add such a whimsical and cozy touch to any card!


So here's the lesson plan:

Step 1: Create the Card Bases

  1. Start with a light green cardstock base measuring 4.25" x 5.5" (A2 size).
  2. Cut a slightly smaller white cardstock panel (approx. 4" x 5.25") and adhere it to the base for a clean border.  My second card was mounted on a Gravel color cardstock from The Stamp Market.

Step 2: Die-Cut the Mushrooms

  1. Using the Pocketful of Mushrooms die set, cut the mushroom caps from white cardstock and blend using Simon Says Stamp's Pawsitively Saturated Inks in Cherry, Fawn and Latte.
  2. Use a white gel pen to add small dots to the mushroom caps for a fun, realistic touch.

Step 3: Assemble the Mushrooms

  1. Arrange the mushrooms in a cluster on the left side of the card, slightly overlapping some pieces for a natural look.
  2. Use foam tape for the larger mushrooms to add depth, while gluing the smaller ones directly to the card panel.
  3. On my second card, the mushrooms are arranged on a mossy green panel that had been stamped with Simon Says Stamp's Friendship Text Background stamp.

Step 4: Add the Sentiment & Background Details

  1. After die cutting the stamped moss panel for one card, I cut a small strip for my second card and adhered it behind the sentiment for a bit of contrast.
  2. Choose a bold "HELLO" sentiment from Simon Says Stamp’s Hello There Sentiment Strips and adhere it with foam tape for dimension.
  3. Stamp a secondary sentimen just below the main sentiment.

Step 5: Add Finishing Touches

  1. Scatter a few clear sequins or embellishments around the design for extra sparkle.

This card is such a fun way to send a thoughtful message to a friend or loved one. The adorable mushrooms paired with the bold sentiment create a simple yet striking design. I hope you give this project a try!

Let me know in the comments if you’d love to see more mushroom-themed card ideas. Happy crafting!

Products Used:

Class dismissed!

Saturday, March 1, 2025

Cute Critters with Poppystamps!

Welcome class!
It's been a hot minute since I've been here in the classroom!  I'm excited to be here today guest designing with Poppystamps for their March challenge!  Thanks for much for the opportunity!  This month, Poppystamps is looking for you to dig out all your cute critters and get to work.  Let's see what I came up with!


So here's the lesson plan:
1.  Pick your colors.  I went with the rainbow between these two cards, with neutrals featured in the backgrounds of each.
2.  Die cut the things! I got silly and die cut several birds using their Nordic Bird die from white cardstock.  Blend the things! I then went for a rainbow theme and blended over all the different parts.  Ink smoosh the things!  I did some basic ink smooshing with acetate on the middle of each card panel--one in grey and the other in tan.  Stencil the things!  I used the Fanciful Flowers stencil set and did a sloppy stencil over the dried ink smooshing in darker shades of grey and tan.  I didn't use all the layers of the stencil because I wanted to keep that background....well...in the background. Splatter the things!  I used black and gold water colors on the background of each.


3.  Assemble!  Once the birds were glued together, they were mounted on the middle of the card with foam tape, and I used black Nuvo drops to make eyes for each of them.  I stacked several Freestyle Hello dies on top of each other for dimension and added it to the bottom of each card.  Two more cards to add to my stash complete!


Want to play along?  Swing by the Poppystamps blog for all the deets!  

Class dismissed!

Saturday, January 11, 2025

To Love/To Be Loved Blog Hop!

Welcome class!
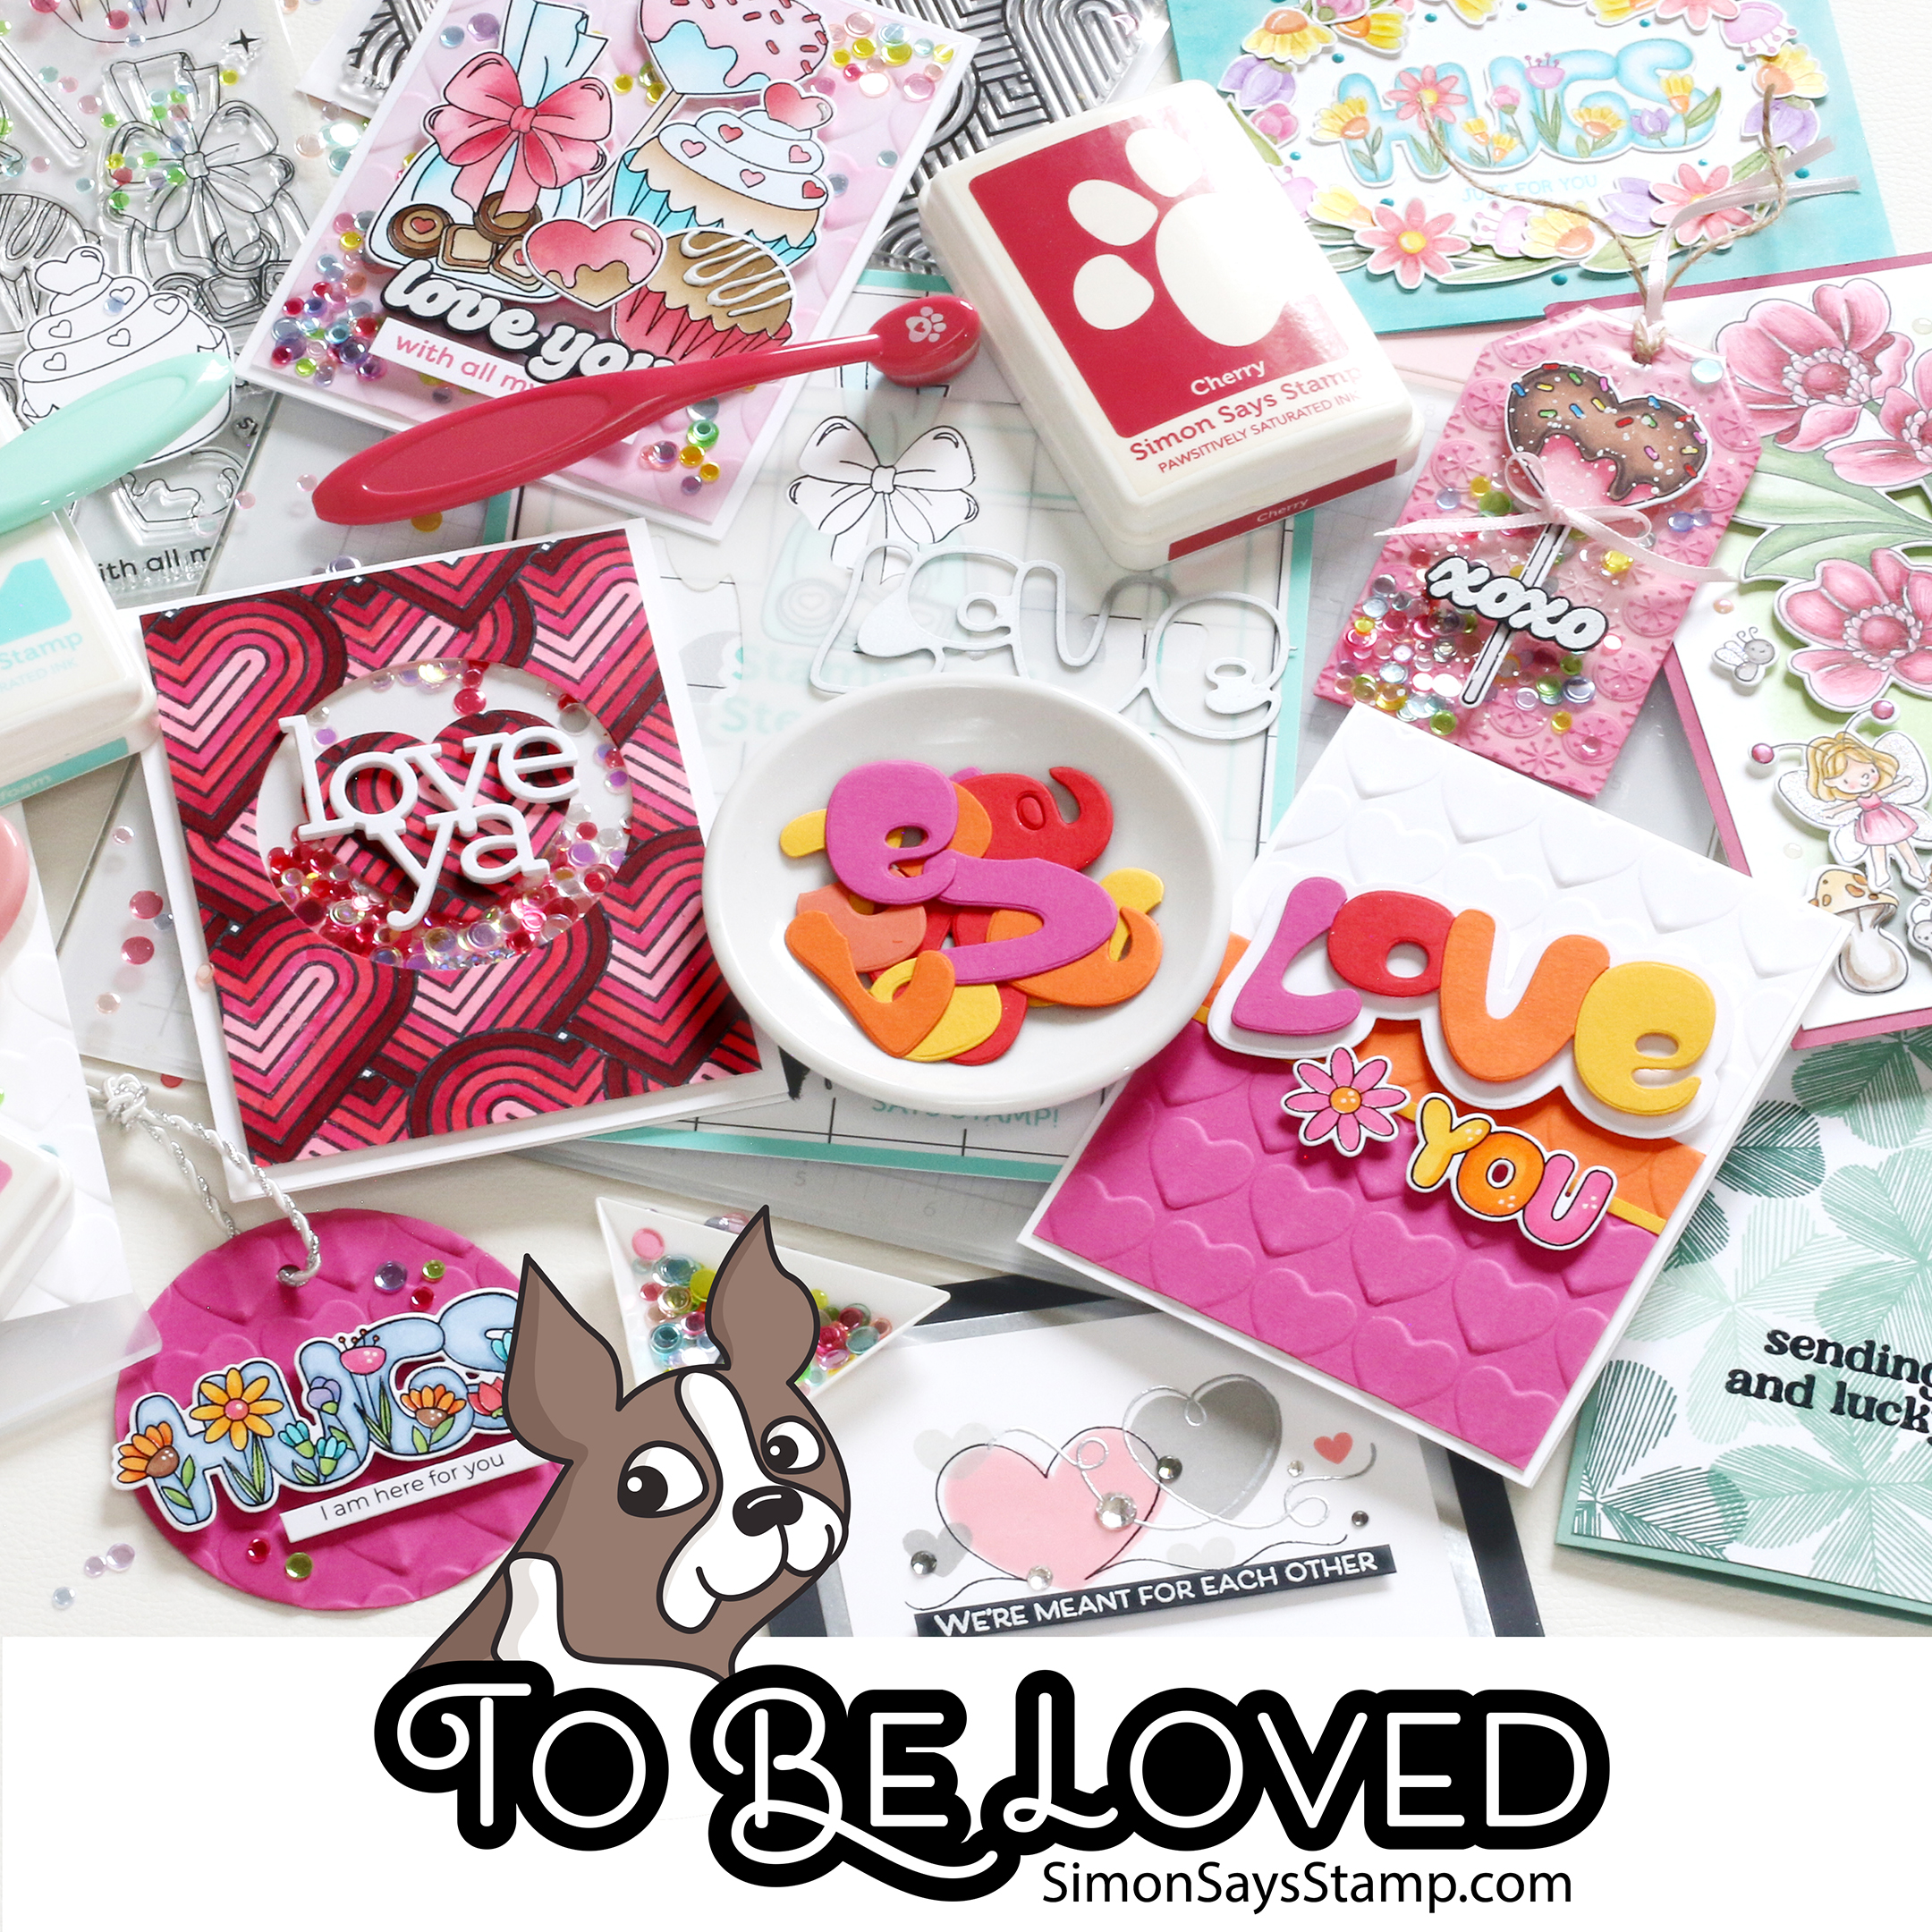
I'm super excited to be able to participate in the second day of the Simon Says Stamp To Be Loved blog hop--thanks for coming to my "classroom!"  You're at the LAST stop here...hopefully you think they saved the best for last--LOL!  If you missed the first day's inspiration, or want to start today's stop at the beginning make sure to head to the Simon Says Stamp blog HERE and get caught up! We're giving away a $25 coupon to the Simon shop from EVERY stop on the hop from the comment section...leave a comment and the winners will be be posted on the Simon Says Stamp blog on Wednesday January 15th!  And even more fun--with any $50 purchase from the To Love OR To Be Loved collections, you'll have the Circle Hoops embossing folder automatically added to your cart as a FREE thank you for your purchase!  This free gift with purchase will expire on January 12th at 11:59 EST or while supplies last, so get your orders in quickly!


My card I'm featuring here uses a product from the To Be Loved release--the Swirly Hearts stamp set.  Let's get to it and see how this card came together!


So here's the lesson plan:
1.  Pick your colors.  I went with a rainbow assortment of colors using Simon's Pawsitively Saturated Ink line.  I use only ink cubes in my craft room, and the cubes came in so handy for this technique to create the rainbow background!
2.  Ink the things!  I lined up the solid heart stamps across the top third of the card and inked up the top of the row in Guava and the bottom of the row in Cherry.  Blend the things!  BEFORE you stamp, take an ink blending tool and tap it across the area where the two ink colors come together so that they make a more harmonious blend.  Stamp the things and admire that beautiful blend!  
3.  Move the stamps around for a second row of hearts and repeat this process with the rest of your rainbow--I completed the rainbow using the following Pawsitively Saturated Inks: Mandarin, Sunbeam, Limelicious, Surf, Cadette and a smidge of Iris.
4.  Emboss the things!  I selected a few of the hearts to have the outline image surrounding them.  I used the Simon Says Stamp Nocturne Versafine ink and used clear embossing powder on top to bring out the shine. 
5.  Splatter the things!  I used black watercolor ink and did some splatter over the top of the heart panel and set it aside to dry while I....
6.  Die cut the things! I used the previously released Love You Very Much die and cut it out of Simon's Glossy Black cardstock. 
7.  Assemble!  I popped up the heart panel on top of a white cardbase, and finished the sentiment off with a reverse sentiment strip from the All the Love collection.  Some Starshine sequins and we have a colorful valentine!


Feel free to check out the entire To Be Loved release HERE, and below you can find the links to the products that I've used on this card. The links above and below are affiliate links, which just helps me fund this hobby at no additional cost to you, making it easier to create more lesson plans and creativity for all of you--I appreciate your support!

Products used:
Class dismissed!


Wednesday, January 8, 2025

To Be Loved Release is Here!

Welcome class!
It's been a minute since I've been able to enter the virtual classroom here at Schoolhouse Stamps!  Fortunately I spent a lot of that time crafting so I hope I'll have time to post more in the new year.  One of my projects that I worked on was creating with products from the To Be Loved Release from Simon Says Stamp.  There's a lot of great products, including the new CZ Designs I'm Sorry Die and Stamps featured here!  Let's get to it!


So here's the lesson plan:
1.  Pick your colors.  I went with a color saturated card using only gold and the newer Rainforest cardstock from Simon Says Stamp.
2.  Die cut the things!  I used almost every flower and leaf die from the Aurora Blooms set.  Splatter the things!  Once I glued down the die cuts, I splattered the entire card front with gold watercolor for shine.  I'm thrilled with how the gold pops off that vibrant dark blue-green cardstock!
3.  Assemble!  I stacked die cuts for the sentiment and made sure to top it with matte gold cardstock, which mirrors the matte gold cardstock flower centers  A few gold sequins to go over the top and we have a dramatic sympathy card.  Those are hard to make in the moment but it's handy to have it in the stash when you need it. 


Feel free to check out the entire To Be Loved release HERE, and below you can find the links to the products that I've used on this card. The links above and below are affiliate links, which just helps me fund this hobby at no additional cost to you, making it easier to create more lesson plans and creativity for all of you--I appreciate your support!

Products used:
Class dismissed!


Sunday, December 1, 2024

It's DieCember! Time to Spread Christmas Joy!

Welcome class!
I don't know about you, but I can never have enough craft dies....they are the most versatile products in my stash!  Simon Says Stamp for the win--welcome to DieCember!  Simon is releasing a wide variety of craft dies today that meet all of your card making needs for an assortment of projects you may be working on with Christmas only a few short weeks away--card making, gift card holders, and more.  I think I used at least 4 different die sets for this cute little bird card I'm featuring today as a part of the DieCember party, which features a huge assortment of Simon designers who craft in a variety of amazing styles to give you a TON of inspiration.  Check out the Simon Says Stamp blog for the line up for today's party!  Let's get to the details on this card!


To celebrate DieCember, Simon has a great free gift with any $100 purchase of DieCember release products....there are sooo many more fun products where this little birdie came from (the EZ strips are one of my personal favs!), so swing by their website HERE to check it out! 

So here's the lesson plan:
1.  Pick your colors. I wanted to this to have a holiday theme, so I went with the go to of red and green. 
2.  Die cut the things!  I used the new Rustic Nest wafer dies, as well as the new Jolly Birdie wafer dies, and supplemented with the Stocking Cat wafer die for the Santa hat and the Elegant Blossom Branch wafer die for the branch it's all sitting on. Ink blend the things!  I cut the nest, bird and package out of colored cardstock--the lightest shade--and went back over with some Pawsitively Saturated Inks to blend them to a shade that I was hoping for.  The leaves on the tree and the bird wings are examples of how I started out with a light color cardstock (I believe I used Concord and 9th's Sprout) and blended to get the shading I wanted. 
3.  Assemble!  This 'lil bird has a gift box in the nest with it--using the Gift Builders wafer die set--which I grabbed some Simon glitter paper to make a sparkly bow. I mounted the whole bird set up on an ink blended circle die. A sentiment from the CZ Reverse Typed Christmas Sentiments pack and some Starshine embellishments and we have a card!